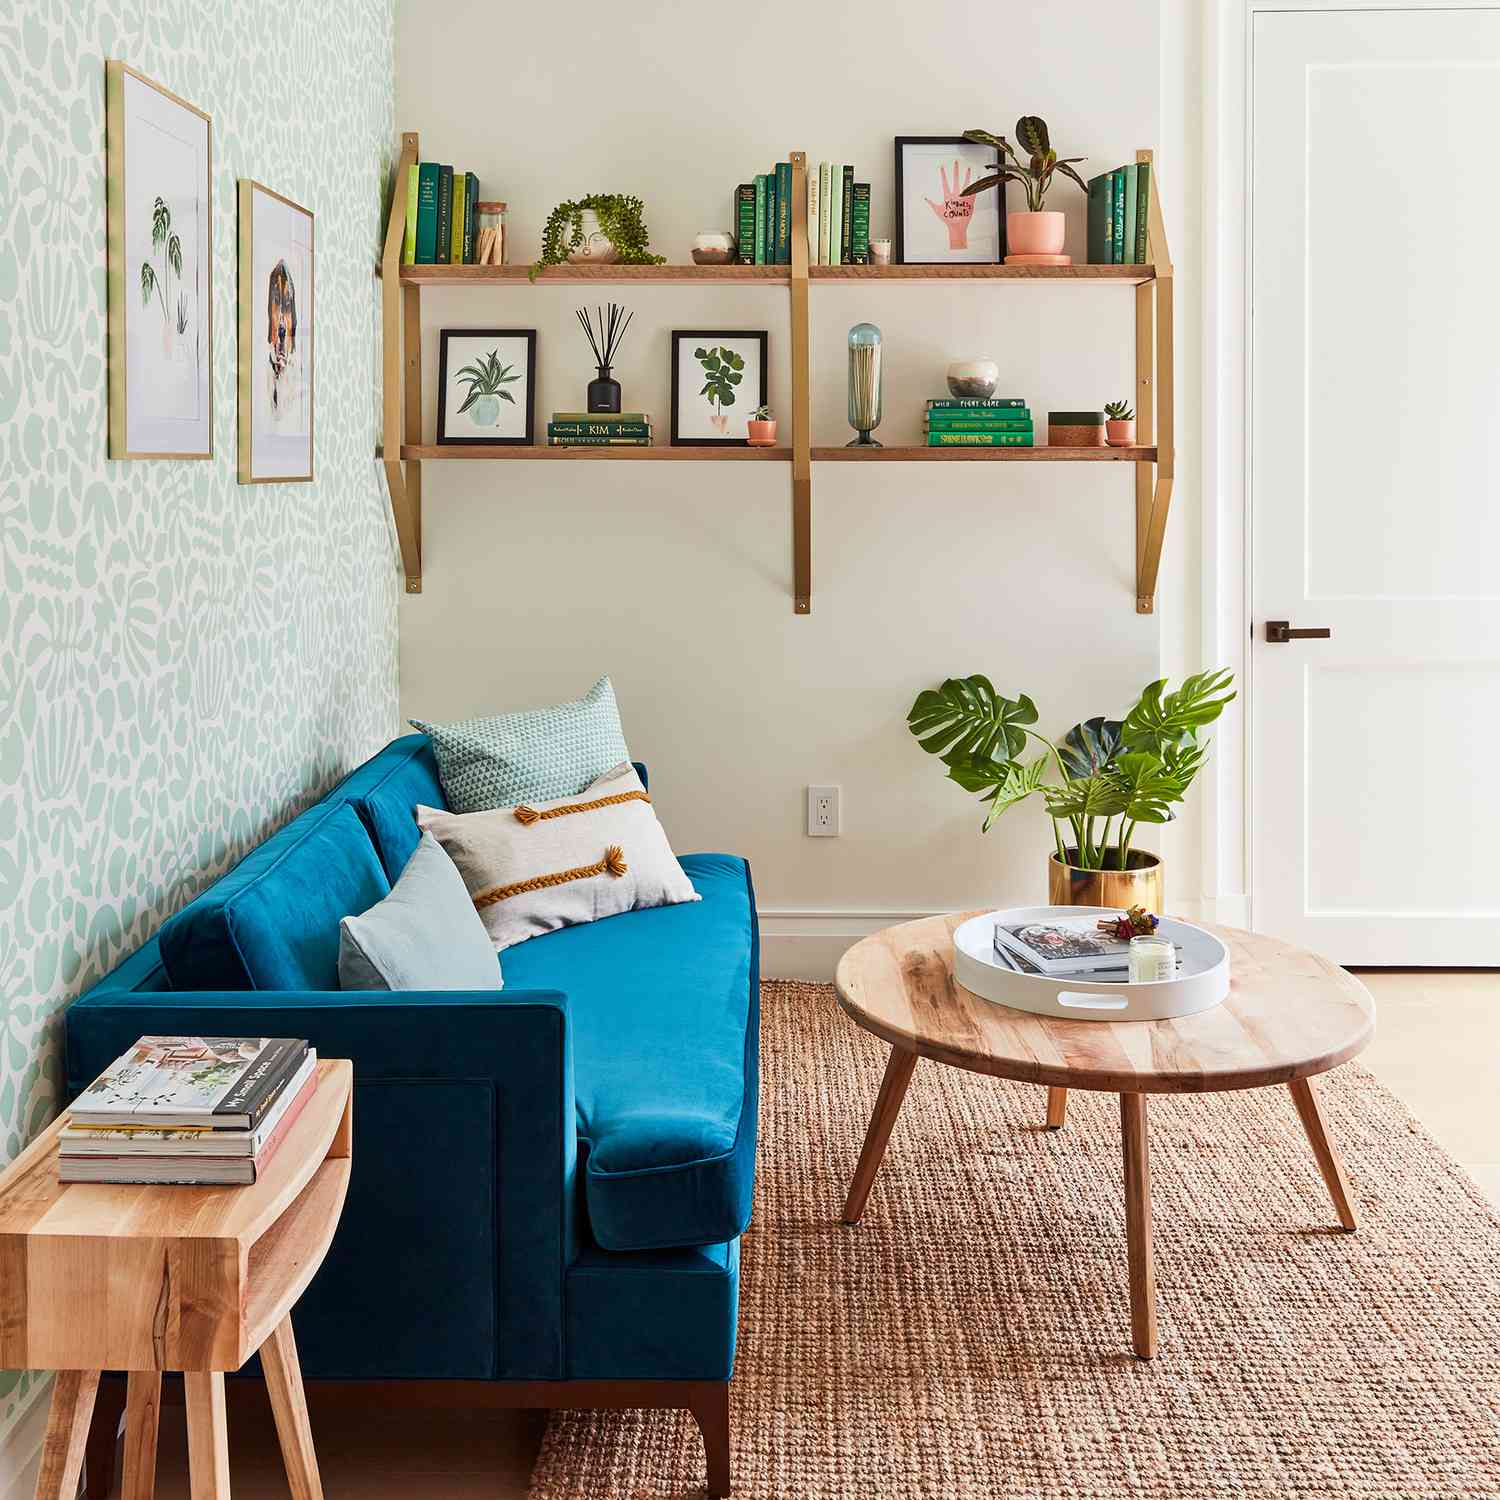
Why DIY Home Decor Is Worth Your Time
There is something deeply satisfying about looking around your home and seeing things you created with your own hands. Store-bought decor is convenient, sure, but it lacks the personality and story that comes with a handmade piece. Plus, when you make things yourself, you can customize every detail - the color, the size, the texture, the vibe - to match your space perfectly.
DIY home decor is also incredibly budget-friendly. Many of the projects in this article cost less than twenty dollars in materials, and some can be done with supplies you already have at home. When you consider that a single decorative vase from a home store can run forty to sixty dollars, making your own version for a fraction of that price just makes sense.
The projects in this list are specifically chosen because they are achievable in a single afternoon, even if you have never done a DIY project before. None of them require power tools, advanced skills, or a dedicated craft room. A kitchen table, some basic supplies, and a few hours of your time are all you need. Each project includes a rough time estimate so you can pick and choose based on how much time you have available.
Whether you are refreshing a room that feels stale, decorating a new apartment on a budget, or just looking for a creative way to spend a Saturday afternoon, these projects will give you beautiful results that look anything but homemade - in the best possible way.
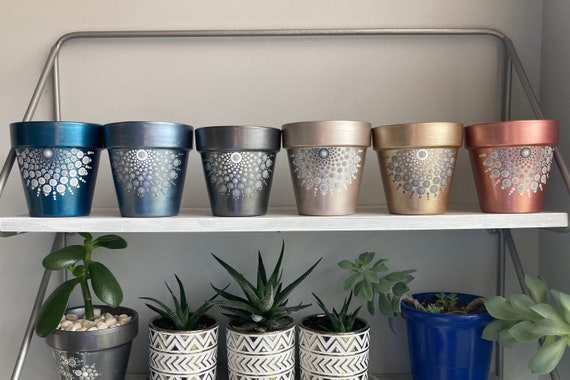
Project 1 - Painted Terracotta Pots
Time needed: 1-2 hours (including drying time)
Budget: Under $15
Terracotta pots are one of the most versatile DIY canvases you can find. They are cheap, widely available, and transform beautifully with just a coat of paint. You can create everything from sleek modern planters to bohemian patterned pots, depending on your style.
Start by gathering your pots. Basic terracotta pots are available at any garden center or dollar store for a couple of dollars each. Grab a few in different sizes for visual interest. You will also need acrylic craft paint in your chosen colors, a few paintbrushes in different sizes, and a clear spray sealant to protect your finished work.
Before painting, wipe the pots clean and let them dry completely. If you want a smooth, opaque finish, apply a coat of white primer first. For a more rustic look where the terracotta peeks through, skip the primer and paint directly on the clay.
For a modern minimalist look, paint the entire pot in a solid matte color - white, sage green, dusty rose, or terracotta orange are all gorgeous options. For something more playful, try color blocking by taping off sections with painter’s tape and using two or three complementary colors. Geometric patterns, stripes, and abstract designs are all easy enough for beginners and create stunning results.
Let everything dry completely, then spray with a clear matte or glossy sealant to protect the paint from water damage. Group your finished pots on a shelf, windowsill, or entryway table with some mini faux succulents from Amazon for a display that looks like it came straight from a boutique home store.
Project 2 - Gallery Wall with Thrifted Frames
Time needed: 2-3 hours
Budget: Under $30
A gallery wall is one of the most impactful decor elements you can add to any room, and it does not have to cost a fortune. The secret is thrifted frames. Hit your local thrift store, Goodwill, or garage sales and grab a collection of frames in various sizes and shapes. Do not worry about matching - an eclectic mix actually looks more interesting and intentional than a perfectly matched set.
Once you have your frames, decide on a unifying element. The easiest approach is to spray paint all the frames the same color. Gold, black, or white frames create a cohesive look regardless of the original frame styles. Alternatively, you can keep them in their original finishes if they work well together.
For the content inside your frames, the options are endless and mostly free. Print family photos in black and white for a classic look. Download free printable art from sites that offer creative commons artwork. Frame pages from old books, botanical prints, or even fabric swatches that complement your color scheme. A mix of photographs, art prints, and text-based prints creates the most visually interesting gallery wall.
Before hammering any nails, plan your layout on the floor first. Arrange all the frames in your desired configuration, take a photo for reference, then transfer the layout to the wall. Start with the largest piece in the center and work outward, keeping about two to three inches between each frame for a balanced look.
Use Command picture hanging strips if you are renting or prefer not to put holes in your walls. They hold securely, come off cleanly, and make it easy to adjust your layout without patching holes. Your finished gallery wall will be a personal, artistic statement piece that makes every guest ask where you got it.
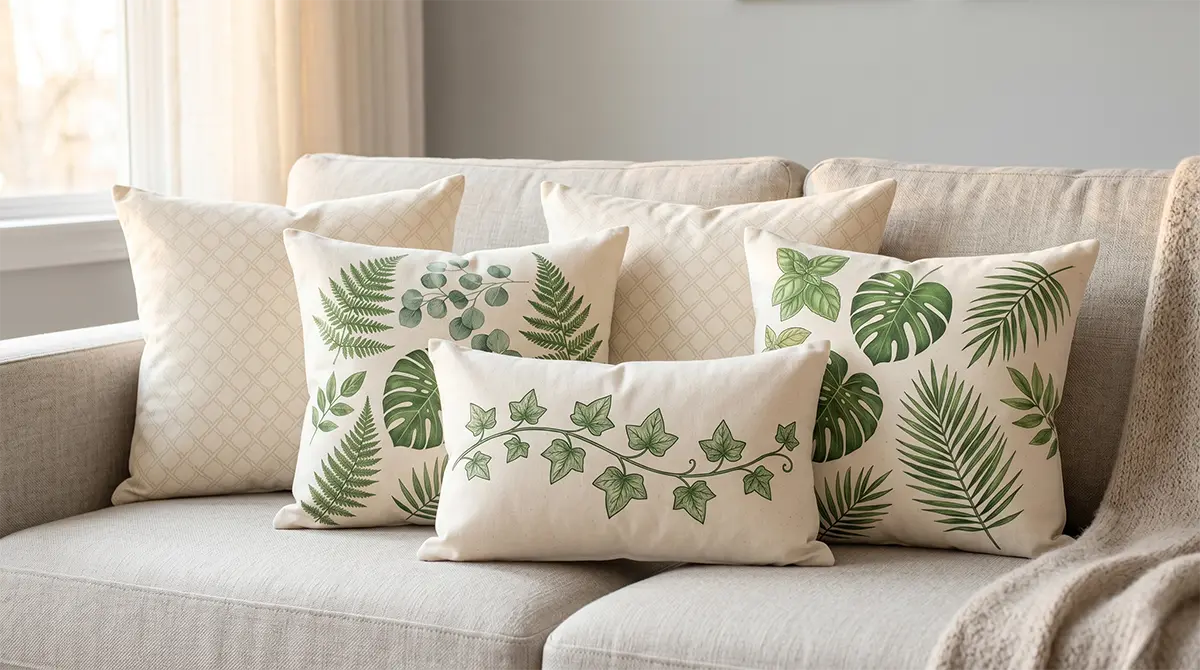
Project 3 - Customized Throw Pillow Covers
Time needed: 1-2 hours
Budget: Under $20
New throw pillows can completely change the mood of a room, but buying them adds up fast. Making your own pillow covers is surprisingly easy, even if you cannot sew. The no-sew method uses fabric glue or iron-on hemming tape to create professional-looking pillow covers in under an hour.
Start with inexpensive pillow inserts in your desired size. The 18×18 inch size is the most versatile and fits most standard throw pillow covers. For the fabric, check the remnant bins at your local fabric store where you can find beautiful materials at a fraction of the regular price. Choose fabrics that complement your existing decor - a mix of solids, patterns, and textures creates the most polished look.
For the simplest no-sew method, cut your fabric into a square about two inches larger than your pillow insert on each side. Fold the edges under, secure with iron-on hemming tape, and press with an iron. Create an envelope closure on the back by overlapping two fabric panels so you can easily insert and remove the pillow form for washing.
If you want to add extra personality, consider embellishments like tassels, pom-pom trim, or iron-on patches. These can be attached with fabric glue and add a designer touch without any sewing required. You can also use stencils and fabric paint to create custom patterns or monograms.
The beauty of making your own pillow covers is that you can change them seasonally without breaking the bank. Keep your pillow inserts year-round and simply swap out the covers - cozy flannel or velvet in winter, light linen or cotton in summer. A set of quality pillow inserts from Target will last for years and serve as the base for endless cover changes.
Project 4 - Decorative Candle Holders from Glass Jars
Time needed: 1 hour
Budget: Under $10
This is the kind of project that makes people think you spent way more money than you actually did. Empty glass jars - from candles, pasta sauce, jams, or pickles - become stunning decorative candle holders with just a few simple techniques.
Clean your jars thoroughly, removing all labels and adhesive. Soaking in warm soapy water for thirty minutes usually loosens labels enough to peel them off. For stubborn adhesive residue, a cotton ball soaked in rubbing alcohol or cooking oil does the trick. Make sure the jars are completely clean and dry before decorating.
There are several decoration techniques to choose from. For a frosted glass look, spray the outside of the jar with frosted glass spray paint, available at any craft store. For a textured bohemian look, wrap the jar with twine or jute rope, securing with hot glue as you go. For an elegant look, paint the inside of the jar with metallic gold or copper paint, swirling it around to create a luminous coating.
You can also create stunning mercury glass effect candle holders by spraying the inside of the jar with mirror-effect spray paint, then lightly misting with water and vinegar before the paint dries to create that characteristic speckled, antiqued look. This technique creates candle holders that genuinely look like expensive mercury glass from a home decor store.
Place tea light or votive candles inside your finished jars and group them on a tray, mantel, or dining table centerpiece. The candlelight filtering through the decorated glass creates a warm, ambient glow that makes any room feel cozy and inviting. For safety and convenience, use flameless LED tea lights that look realistic without any fire risk.
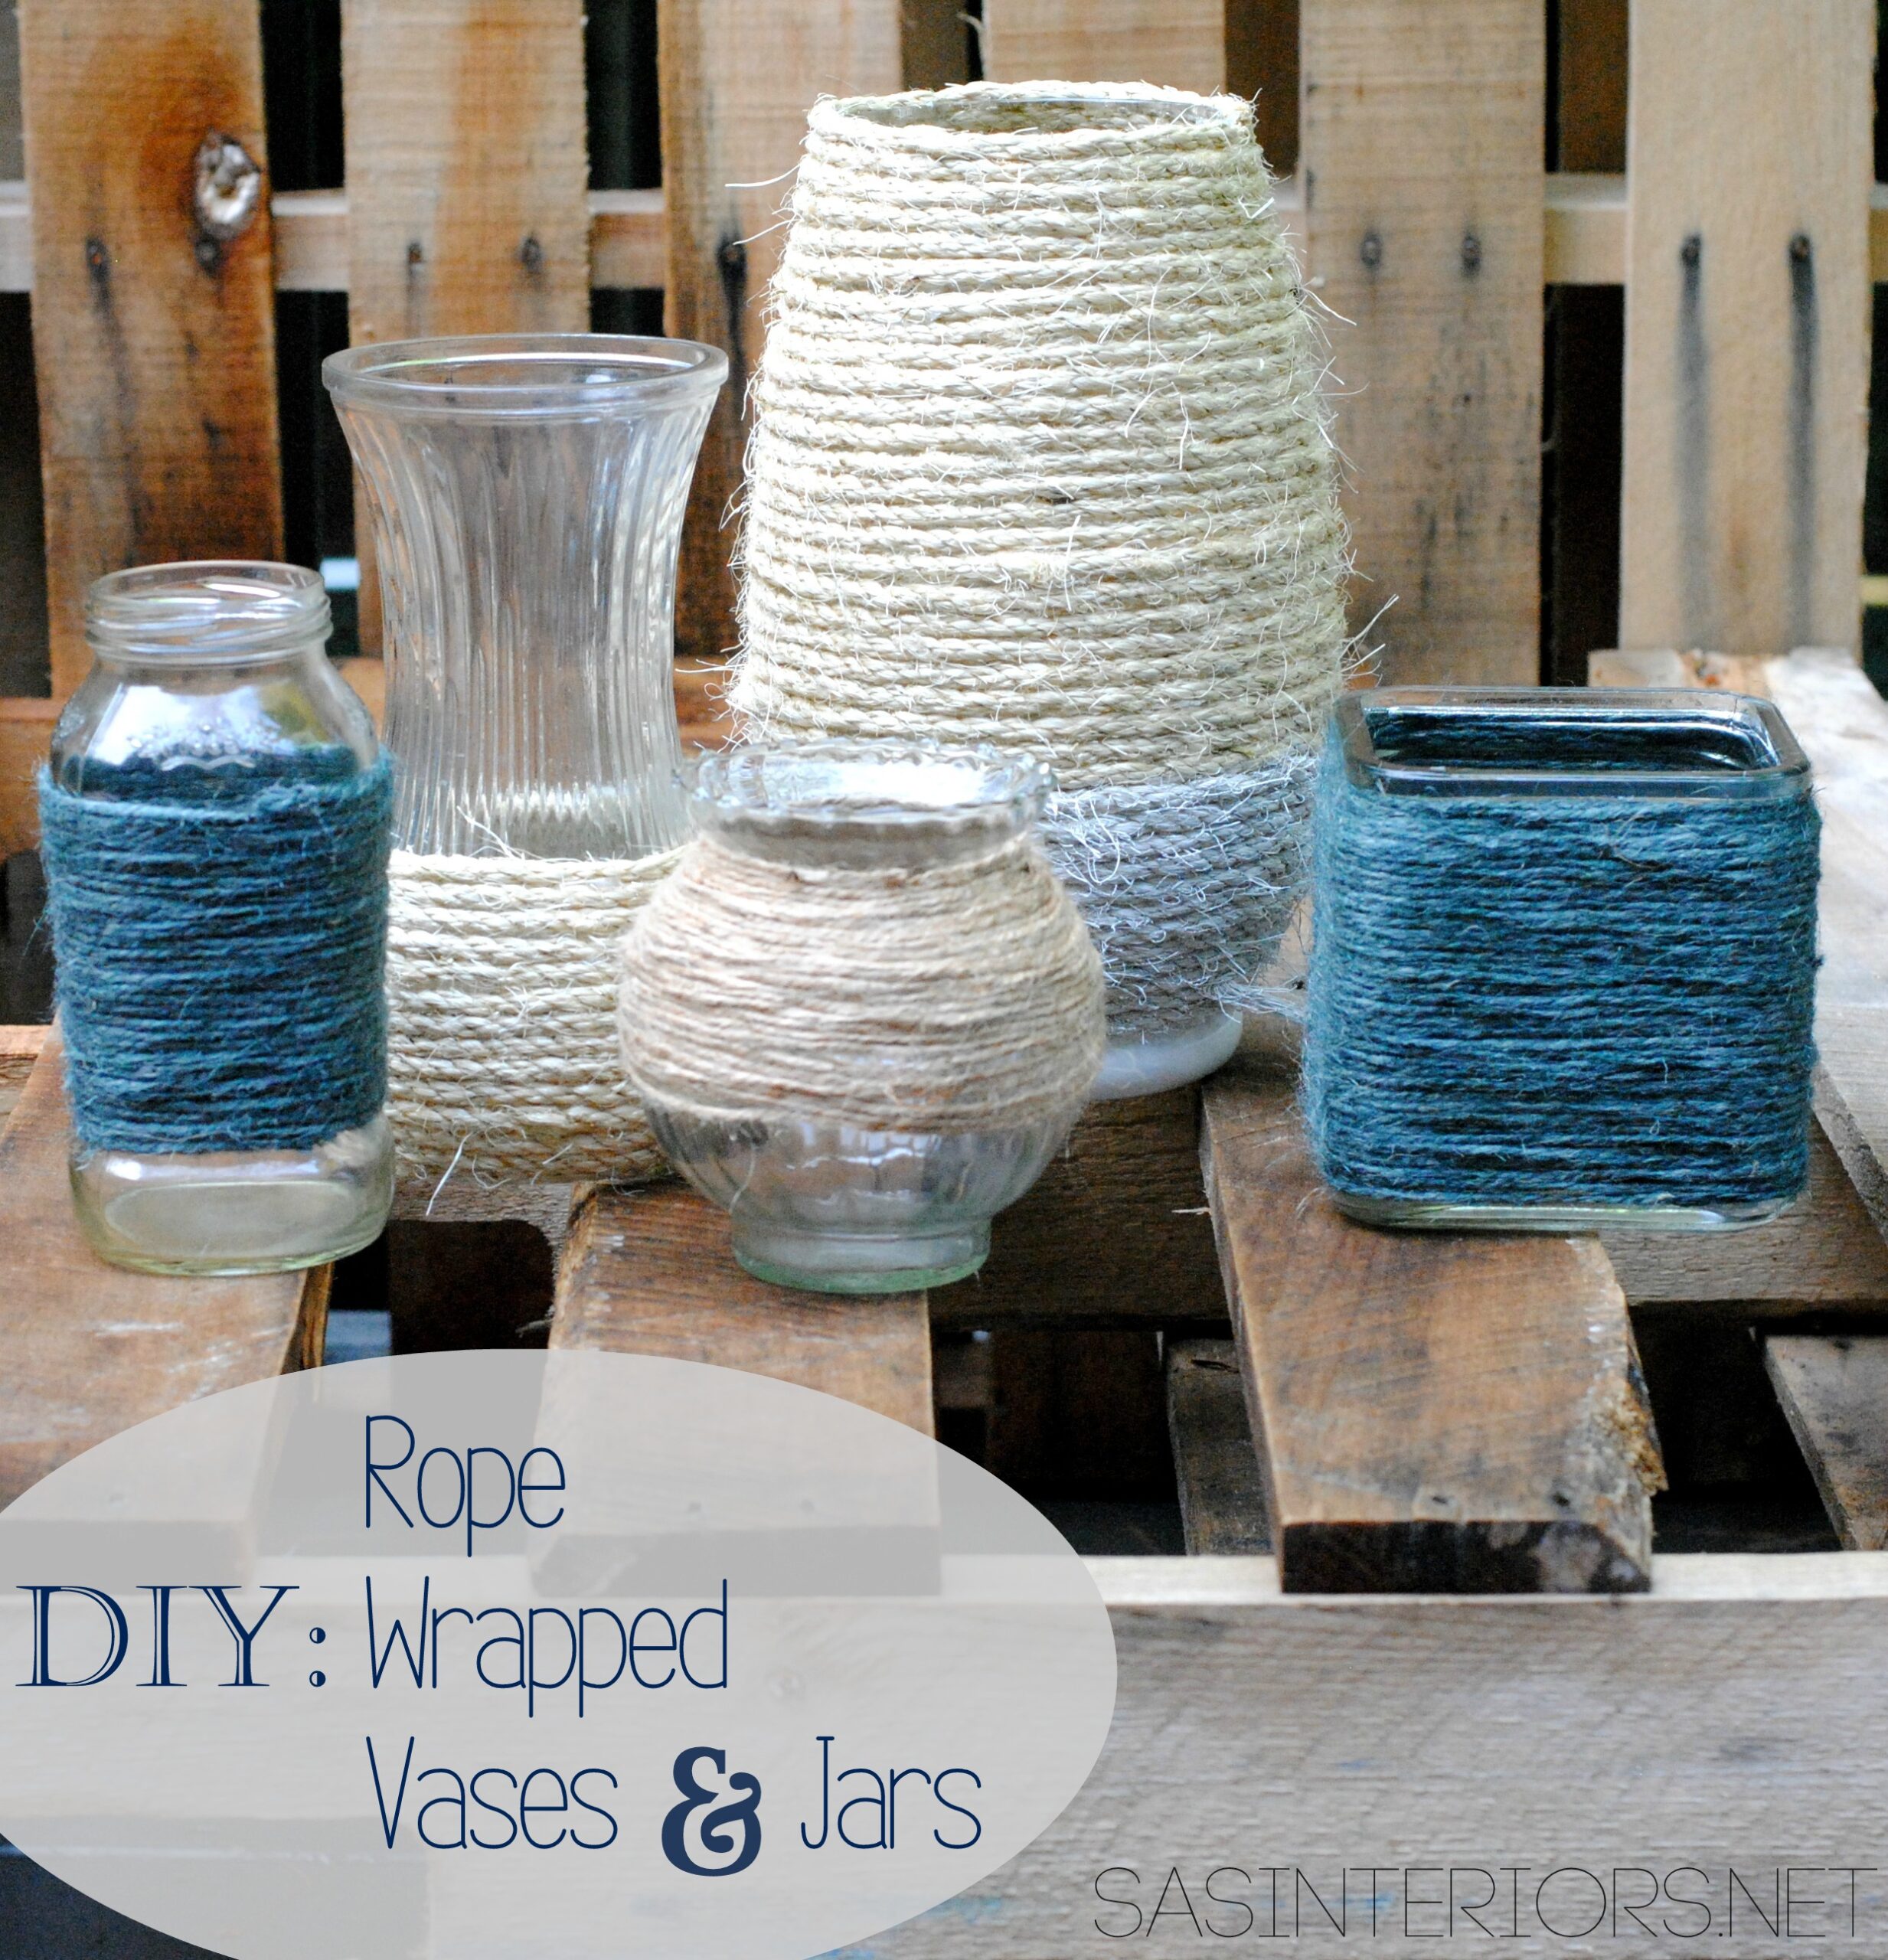
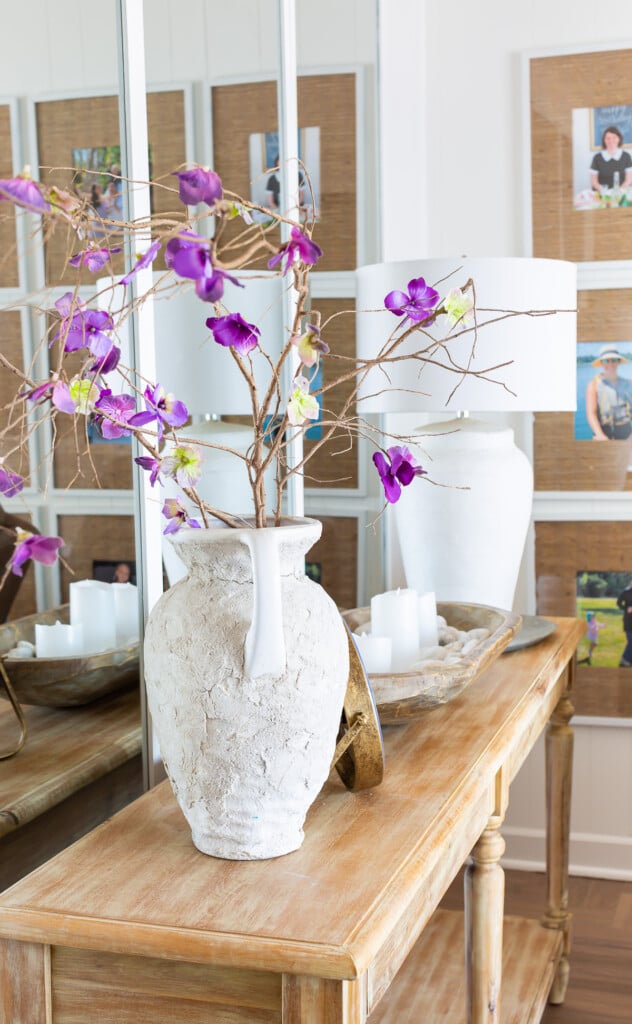
Project 5 - Rope Wrapped Vases
Time needed: 45 minutes to 1 hour
Budget: Under $12
Rope wrapped vases are a staple of coastal and bohemian home decor, and they are ridiculously easy to make. All you need is a vase or bottle (any shape works), some natural jute or cotton rope, and a hot glue gun. The result is a textured, organic-looking piece that adds warmth and visual interest to any shelf or table.
Choose your base vessel. Old wine bottles, glass vases from the dollar store, or even empty tin cans work perfectly. The shape is up to you - tall and narrow creates a different look than short and wide. Clean and dry your vessel completely before starting.
Starting at the bottom of the vessel, apply a line of hot glue and press the rope firmly into place. Continue wrapping the rope tightly around the vessel, adding glue every few rows to keep everything secure. Keep the rows close together so no base material shows through. When you reach the top, cut the rope and tuck the end under the last row, securing with an extra dab of glue.
For variation, try using different thicknesses of rope on different vases for a collected look. You can also incorporate colored rope sections, wrap in a pattern leaving some of the base exposed, or add embellishments like wooden beads, shells, or dried flowers tucked between the rope rows.
Group several rope-wrapped vases of different heights and sizes together for a display that looks like a curated collection. Fill them with dried flowers, pampas grass, or eucalyptus branches for a finished look that is both stylish and low-maintenance since dried arrangements never need watering.
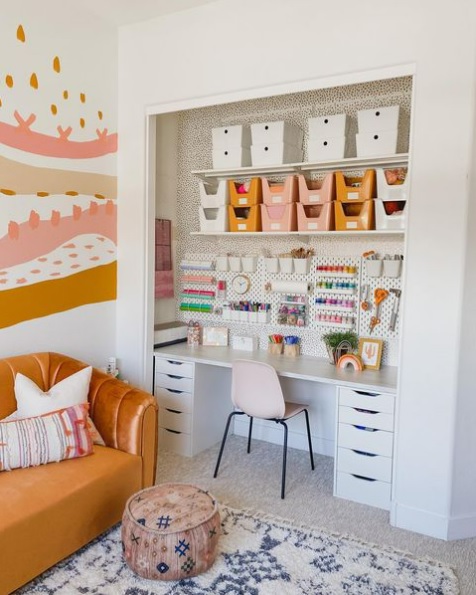
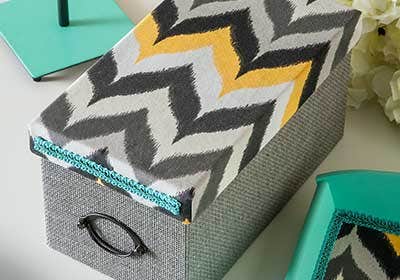
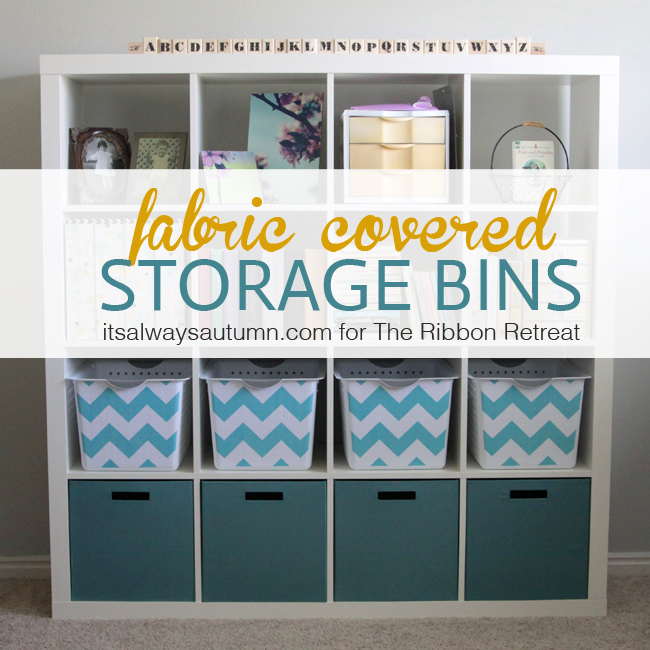
Project 6 - Fabric Covered Storage Boxes
Time needed: 1-2 hours
Budget: Under $15
Storage boxes are essential for keeping a tidy home, but plain cardboard or plastic bins do not exactly scream style. Covering them in fabric transforms them into decorative pieces that look beautiful on shelves, in closets, or stacked in a living room while hiding all the random items you need to stash out of sight.
Start with sturdy boxes in the sizes you need. Shoe boxes, shipping boxes, or inexpensive plain storage boxes from the dollar store all work well. Choose fabric that coordinates with your room - cotton, linen, and canvas are the easiest fabrics to work with for this project.
Cut your fabric large enough to cover the outside of the box with about two inches of overlap on all sides to fold over the edges. Apply spray adhesive or fabric glue evenly to one side of the box at a time, smooth the fabric into place, and fold the excess neatly over the edges like wrapping a gift. Pay special attention to the corners, folding them neatly for a clean finish.
For the inside of the box, cut a separate piece of coordinating or contrasting fabric and glue it to the interior for a polished, lined look. Add a ribbon or leather handle to each end of the box for easy pulling off shelves. You can also label your boxes with handwritten tags or printed labels for organized storage that is beautiful and functional.
These fabric-covered boxes are perfect for organizing everything from craft supplies and accessories to paperwork and seasonal items. Line them up on a bookshelf or closet shelf for a custom storage solution that looks intentional and expensive. A fat quarter fabric bundle from Amazon gives you multiple coordinating patterns for less than ten dollars.
Project 7 - Painted Accent Wall or Feature Section
Time needed: 2-4 hours
Budget: Under $25
Painting is one of the most transformative things you can do to a room, and you do not have to paint the entire space to make a huge impact. A single accent wall - or even a feature section like the wall behind your bed or a small reading nook - adds drama, depth, and personality to any room in just a few hours.
Choose your color carefully because it sets the mood for the entire space. Deep, rich colors like navy blue, forest green, or charcoal gray create a cozy, intimate feeling. Warm terracotta, dusty rose, or golden yellow bring energy and warmth. Soft sage, light blue, or lavender create a calming, spa-like atmosphere. Consider how the color will look with your existing furniture and decor before committing.
A single quart of paint is usually enough for one accent wall in a standard room, and quarts are available in virtually any color from home improvement stores. You will also need painter’s tape, a roller with a tray, and a small angled brush for cutting in around edges and corners. If your wall is currently a dark color, pick up a small container of primer too.
Prep the wall by cleaning it with a damp cloth to remove dust and cobwebs. Apply painter’s tape along the ceiling, baseboards, and where the accent wall meets the adjacent walls. Pour your paint into the tray, and start by cutting in around the edges with the angled brush, then fill in the center with the roller using long, even strokes. Two coats usually gives the best coverage - let the first coat dry completely before applying the second.
Remove the painter’s tape while the final coat is still slightly tacky for the cleanest lines. Step back and admire the transformation. A single accent wall can make a room feel entirely different, and it is one of the most reversible changes you can make since you can always paint over it if your taste changes.
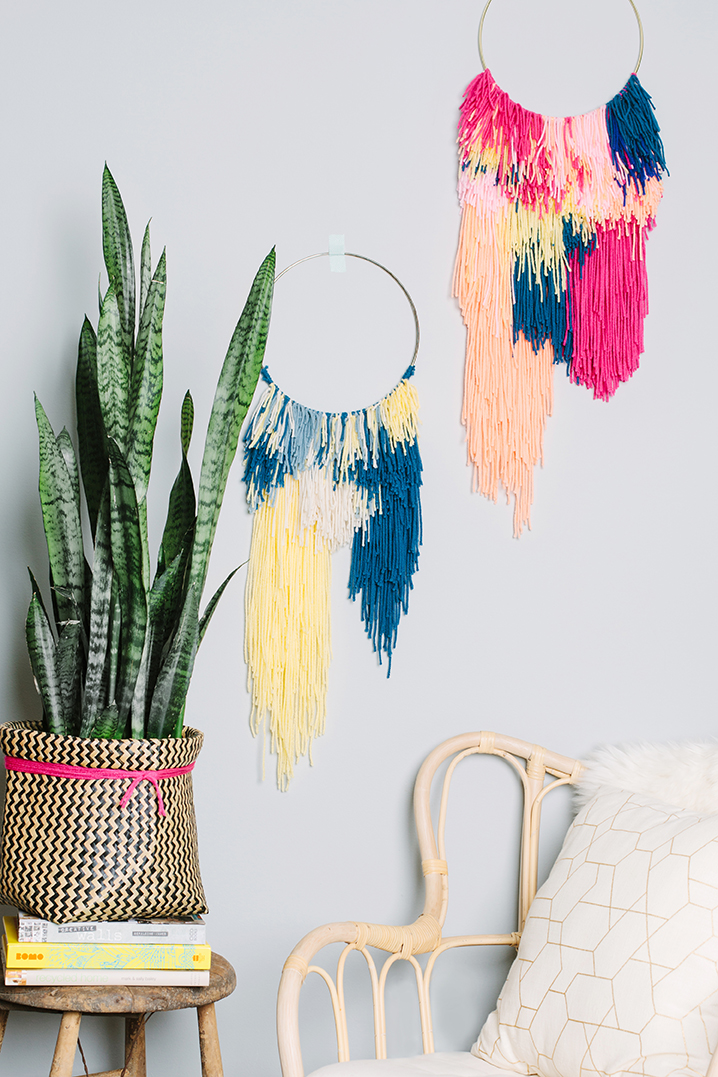
Project 8 - DIY Woven Wall Hanging
Time needed: 2-3 hours
Budget: Under $20
Woven wall hangings add texture and artisanal charm to any wall, and they are much easier to make than they look. You do not need a loom or any weaving experience. A simple technique using a wooden dowel, yarn, and your hands creates a beautiful bohemian-inspired piece that looks like something from an artisan market.
Gather your materials. You will need a wooden dowel or driftwood branch about twelve to eighteen inches long, several skeins of yarn in coordinating colors and textures, and scissors. Choose a mix of thick and thin yarns, and consider incorporating different textures like chunky wool, smooth cotton, and metallic thread for visual interest.
The simplest technique is a series of lark’s head knots attached to the dowel, creating a fringe-style hanging. Cut your yarn into pieces roughly twice the length you want your finished piece to be. Fold each piece in half, loop the folded end over the dowel, and pull the loose ends through the loop. Repeat across the entire dowel, mixing colors and textures as you go.
Once all your yarn is attached, you can create patterns by trimming the fringe at different angles or in a V shape. Add visual interest by braiding some sections, knotting groups of strands together at intervals, or weaving horizontal pieces through the vertical strands. There is no wrong way to do this - the beauty of fiber art is its organic, imperfect nature.
Hang your finished piece using a piece of yarn or twine tied to each end of the dowel. These wall hangings look stunning above a bed, sofa, or in an entryway. They add warmth and texture to minimalist spaces without overwhelming the room. For the best selection of textured craft yarn, macrame cotton cord variety packs from Amazon give you multiple colors and weights in one purchase.
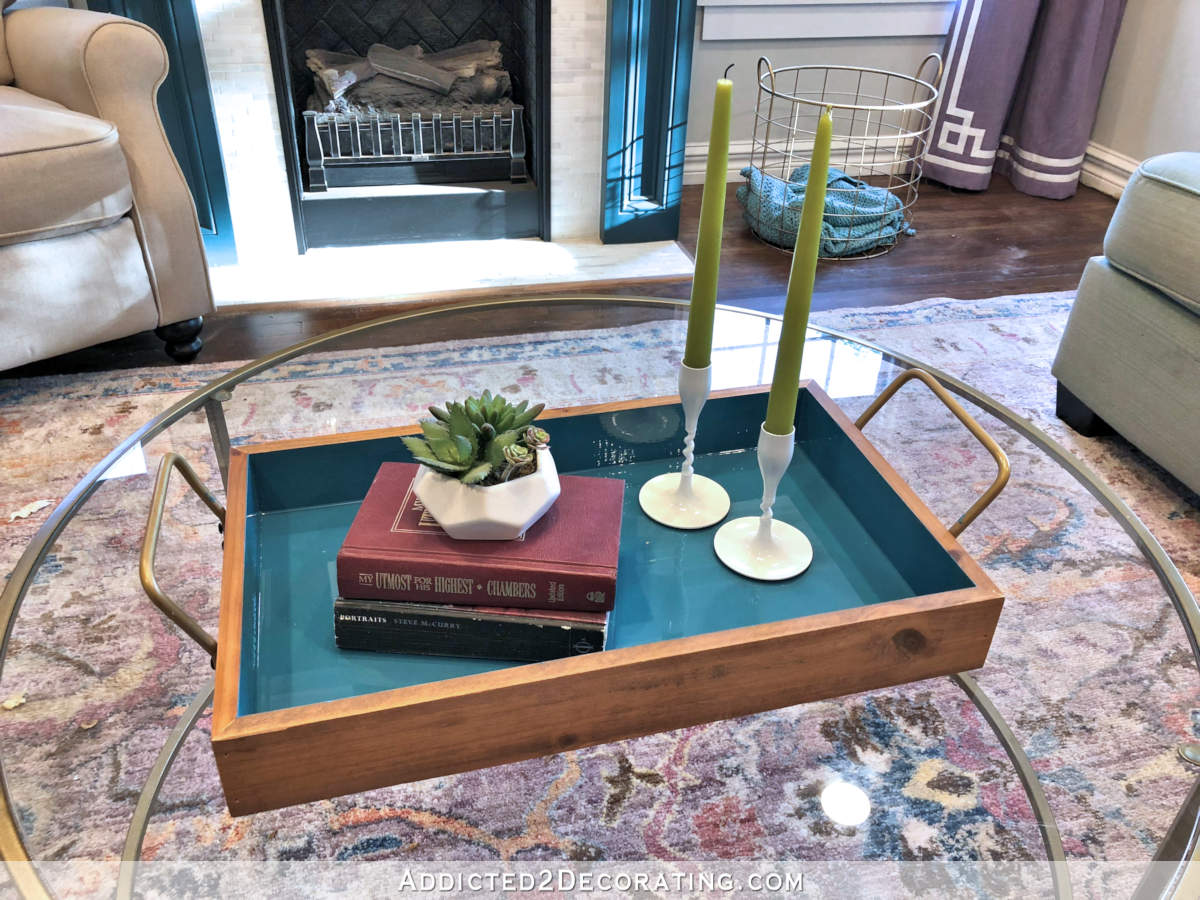
Project 9 - Custom Serving Tray Makeover
Time needed: 1-2 hours
Budget: Under $15
A decorative tray is one of the most versatile home decor items you can own. It corrals items on a coffee table, dresses up an ottoman, organizes a bathroom counter, or serves as a breakfast-in-bed essential. And making one from a thrifted or dollar store tray is ridiculously easy.
Find a tray with a flat bottom and raised edges. Thrift stores, dollar stores, and home clearance sections are all great sources. The shape, size, and current condition do not matter much because you are going to transform it completely. Even a scratched, ugly tray becomes gorgeous with the right treatment.
For a modern look, spray paint the entire tray in a bold color or metallic finish. Gold, brass, or matte black are timeless choices. For a more unique piece, decoupage the bottom of the tray with decorative paper, fabric, or even a map or pages from a vintage book. Apply a thin layer of Mod Podge to the tray surface, smooth your chosen material into place, and seal with additional coats of Mod Podge once dry.
Marble-look contact paper applied to the bottom of the tray creates an upscale, elegant finish that is basically indistinguishable from a real marble tray. Peel-and-stick wallpaper samples work beautifully too and come in thousands of patterns. You can also line the bottom with fabric, cork, or tile samples for a completely custom look.
Style your finished tray with a small grouping of objects. A candle, a small plant or faux greenery, a decorative bowl for keys or jewelry, and a stack of coasters make a classic coffee table tray arrangement. The tray ties everything together and creates an intentional display out of items that would otherwise look random sitting loose on the surface.
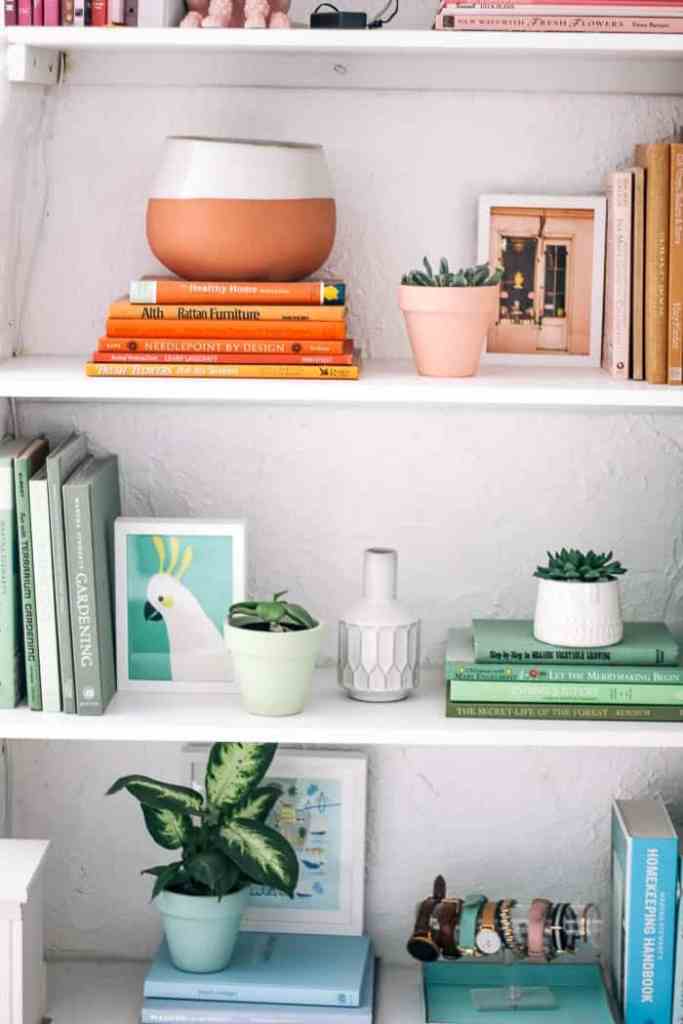
Project 10 - Decorative Book Stack Display

Time needed: 30-45 minutes
Budget: Under $10
Stacked books are a decorator’s secret weapon. They add height, color, and intellectual charm to any surface. But rather than buying expensive coffee table books you will never read, create your own decorative book stacks from inexpensive thrift store finds.
Visit your local thrift store and grab a handful of hardcover books in pleasing sizes. The content does not matter - you are choosing based on spine width, cover color, and size. Look for books with interesting titles or beautiful covers, but also grab some with ugly dust jackets because you are going to remove those.
Remove the dust jackets to reveal the hardcover underneath. Most hardcover books have neutral-toned cloth or paper covers in shades of cream, beige, blue, gray, or red that look far more elegant than their busy dust jackets. If you want a cohesive look, choose books whose bare covers fall within the same color family.
For a more customized look, you can wrap book covers in kraft paper, linen fabric, or decorative paper. Write the titles on the spines in a pretty script or leave them blank for a minimalist look. This technique lets you create a perfectly color-coordinated stack regardless of the original book covers.
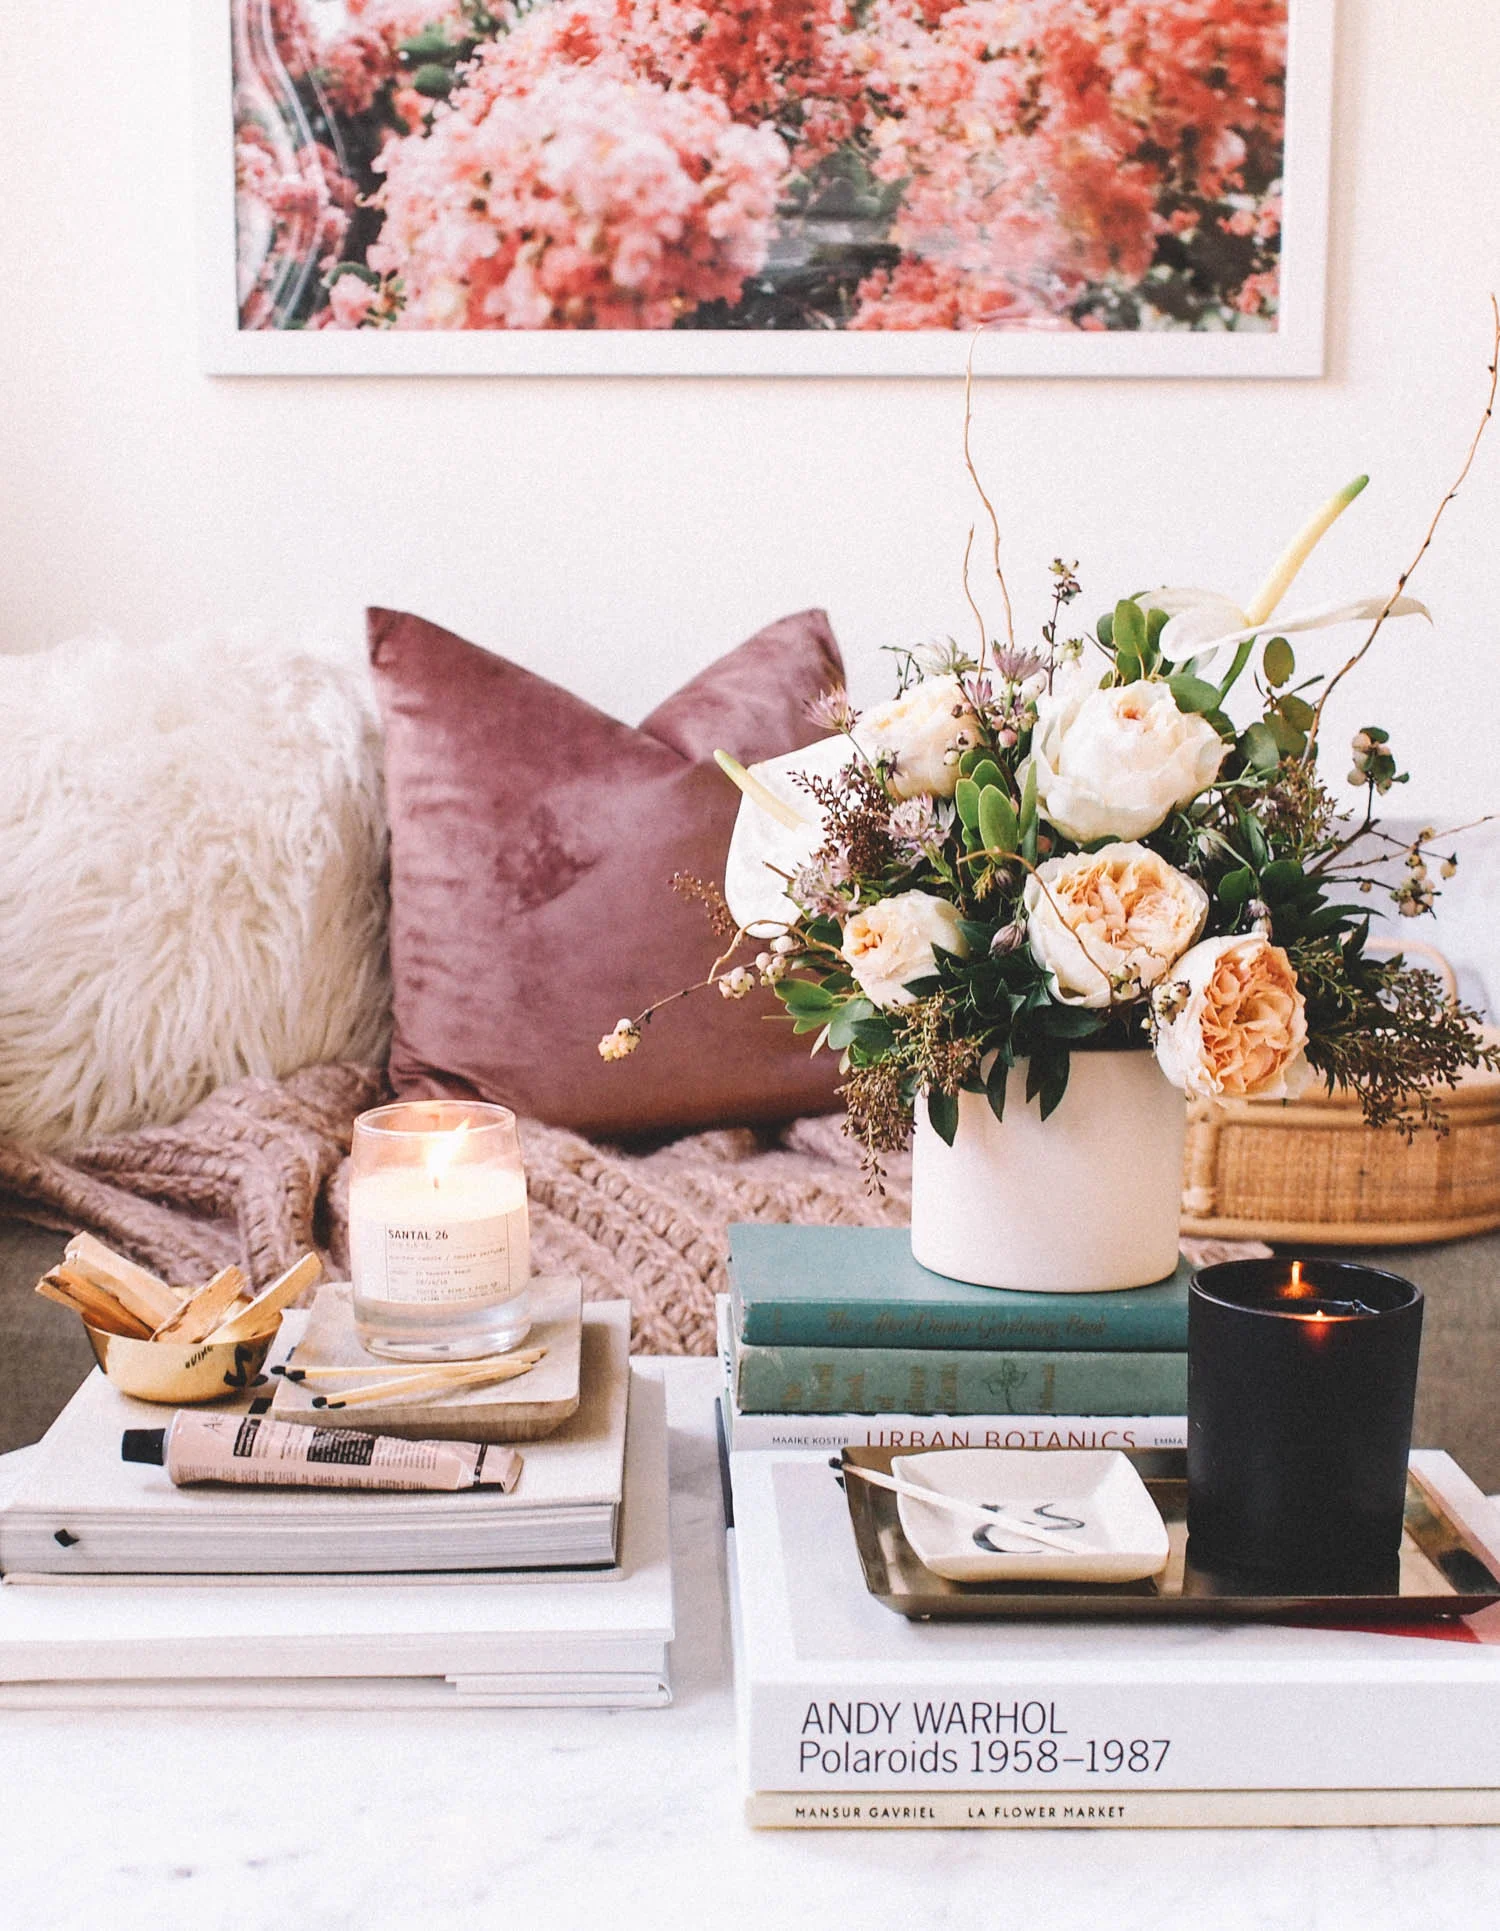
Stack three to five books on a coffee table, nightstand, or shelf. Place the largest book on the bottom and the smallest on top. Crown the stack with a small decorative object - a candle, a small plant, a crystal, or a decorative object that reflects your personality. These book stacks work beautifully on their own or as part of a larger styled vignette on a decorative round tray from Target .
Tips for Success with Any DIY Project
Before you dive into any of these projects, here are some universal tips that will help you get the best results with the least frustration.
Gather all your materials before you start. Nothing kills creative momentum like having to stop mid-project to run to the store for something you forgot. Read through the entire project description first, make a list of everything you need, and have it all laid out and ready before you begin.
Protect your workspace. Cover your table or floor with a drop cloth, old newspapers, or a plastic tablecloth before painting, gluing, or spraying anything. Cleanup is so much easier when your surfaces are protected, and you will not have to stress about drips or spills.
Start simple and build your confidence. If you are new to DIY, begin with one of the easier projects like the painted pots or book stack display before tackling the accent wall or woven hanging. Early success builds the confidence and enthusiasm that carries you through more challenging projects.
Embrace imperfection. Handmade items have character precisely because they are not factory-perfect. A slightly uneven paint line, an asymmetrical fringe, or a minor color variation is what makes your piece unique and authentic. Do not let perfectionism rob you of the joy of creating.
Document your process and results. Take before and after photos, share them with friends, or post them on social media. Seeing the transformation gives you a sense of accomplishment and motivates you to tackle the next project. Plus, your photos might inspire someone else to try their hand at DIY decorating.
Most importantly, have fun with it. Put on your favorite music, pour yourself a drink, and enjoy the process. DIY is supposed to be a creative outlet and a form of self-expression, not another item on your to-do list. When you approach it with a playful mindset, the results are always better because you are relaxed and willing to experiment. A basic craft supply starter kit from Amazon has most of the basics you need across multiple projects - glue gun, scissors, brushes, tape, and more - so you are always ready when inspiration strikes.
Key Takeaways
- All ten projects can be completed in one afternoon with basic supplies and no advanced skills required.
- Most projects cost under twenty dollars, making them a budget-friendly alternative to buying expensive home decor.
- Thrift stores, dollar stores, and items you already own at home provide the best starting materials for DIY projects.
- Customizing colors, patterns, and textures lets you create pieces that perfectly match your existing decor and personal style.
- Starting with simpler projects builds confidence for tackling more involved ones over time.
- Imperfection is part of the charm - handmade items have character that mass-produced decor never will.
Frequently Asked Questions
What if I am not creative or artistic - can I still do these projects?
Absolutely. These projects are designed for beginners and do not require any artistic talent. Techniques like painting a pot a solid color, wrapping rope around a vase, or covering a box with fabric are straightforward skills that anyone can master. Creativity is a muscle that grows with practice, and starting with simple projects is the best way to build it.
Where can I find affordable DIY supplies?
Dollar stores, thrift stores, and the clearance sections of craft stores are your best friends. Online retailers also offer great deals on bulk supplies like yarn, paint, and brushes. Many projects use items you already have at home, like glass jars, cardboard boxes, and old fabric. Before buying anything new, check what you already have on hand.
How do I choose which projects match my home decor style?
Think about the overall vibe of your space. If your home leans modern and minimal, stick with clean lines, solid colors, and simple materials. If your style is more bohemian or eclectic, embrace textures, patterns, and mixed materials. The beauty of DIY is that you control every aspect, so you can adapt any project to fit your aesthetic by changing the colors, materials, or finishing touches.
Can I do these projects with kids?
Many of these projects are kid-friendly with supervision. Painted pots, book stacks, and rope-wrapped vases are great for older children. Younger kids can help with tasks like choosing colors, applying stickers, or sorting materials. Just avoid projects involving hot glue, spray paint, or sharp tools for very young helpers and always supervise closely.