

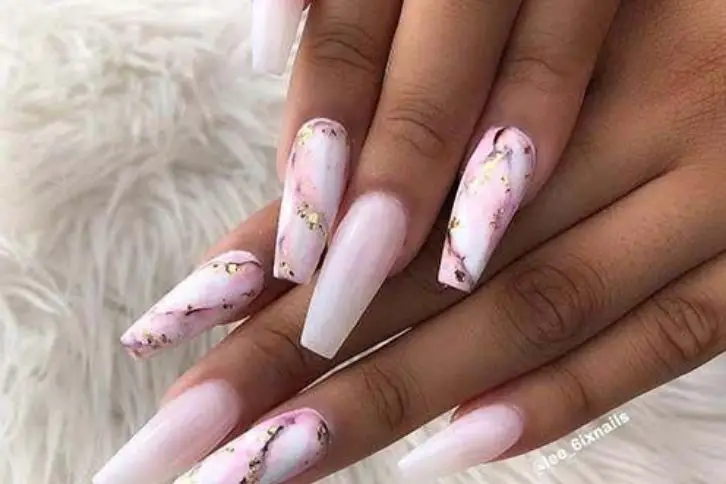
Nail art is ever-changing, with different designs from colors to prints going in and out of style. We can’t help but try to keep up with the trend. Marble nails are one to look out for as they look like the marble tiles from the countertops of living spaces because they are similar, down to the swirly design features.
These unique nails are an elegant choice to opt for, as you can personalize them to suit your taste. From bold and vibrant swirls to a cooler take on the marble designs, there is no shortage of styles to try.
Socials are buzzing over them, and if Lizzo’s chocolate swirls aren’t enough inspiration for you, then with all the #marblesnails posts, you are bound to get inspired by someone else.
One thing we learned from the pandemic is that we can do most beauty trends at home, such as manicures. So, read on to find out how you can achieve a chic marble nails design at home.
Manicure tools
To start, you will need the basic items for a manicure session. The list consists of a nail file, buffer, clippers, and a cuticle pusher to prepare the nails. After this, you will need a small tip brush and varying sets of nail polish. You will also need a base color and one or more other colors to create the swirl designs, plus a topcoat.
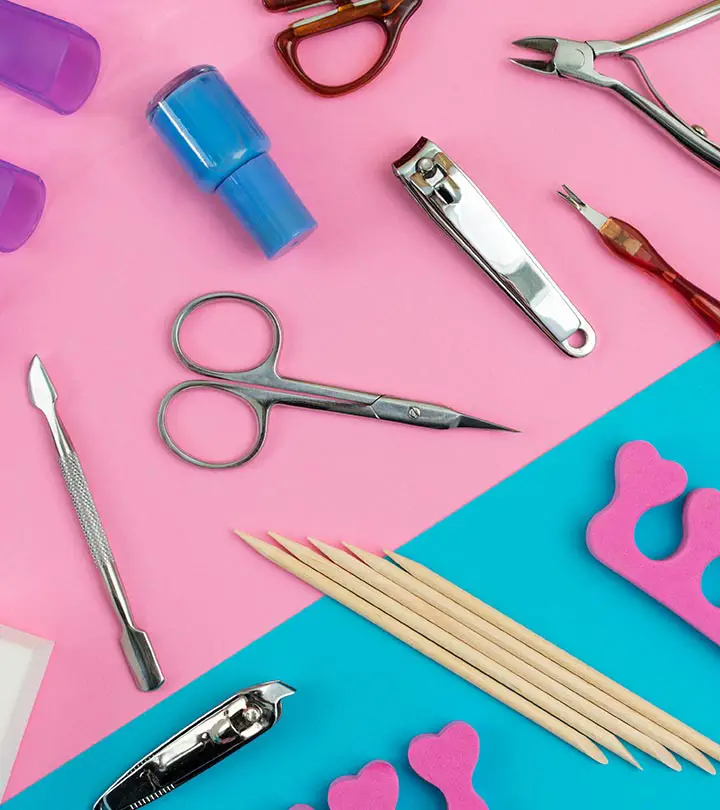
To finish off, get some cotton wool, nail varnish, polish remover, and a dish of lukewarm water if you are doing the water marble design.
With these tools handy, you can achieve a flawless marble nail design. Now that everything has been sorted out, let’s get into the manicure process.
Step 1: Prepare your nails
Use the clippers to trim off the rough nail edges, then file them so they take the shape you want. Buff them to a stronger hold and push back your cuticles. Then apply some moisturizer or vaseline to help keep your nails healthy.
Step 2: The base
Once the nails are prepped, apply your base color, which can be in one or two coats with efficiency. Allow the polish to dry for a few minutes.
Step 3: The design
Apply the other colors by placing them in small dots on the base color. To create the design, use your small tipped brush to carefully make swirls with the added color. Then add some nail vanish or alcohol, this will create the marble effect on the nails.
Step 4: Clean up
Soak a small piece of cotton wool in nail polish remover to clean off the edges from any spillage to the sides of the fingers. This will give you a tidy nail edge that will elegance to your nails.
Step 5: Topcoat
Apply a layer of your top coat nail polish to help lock in your design and give a flawless and long-lasting nail design. Opt for a glossy top coat for best results.
View this post on Instagram
An alternative method of achieving beautiful marble nails yourself is using the water marble method. Here, a shallow dish of water infused with nail polish is used to add the swirl designs to your nails.
Just like the normal marble nails, the same tools are needed but you will just have to keep a dish of water and some toothpicks or cocktail sticks close by. After preparing your nails, apply your desired base color and allow it to dry out.
Once the nails are dried, add the other colors you have chosen to create the marble pattern, moving fast and using the toothpick to create swirls on the surface of the water.
Slowly dip a finger into the water and your nails will be covered with the swirls created. Leave your finger in the water for a few minutes to allow the swirls to set in. Take the finger out and do the same for the rest of your nails, then air dry them.
Some experts suggest using a cotton bud to push in the patterns. To finish off, remove the excess with some nail polish remover, apply some topcoat, and viola your beautiful marble nails are done.
View this post on Instagram
Conclusion
Marble nails are like the tie and dye patterns on fabrics. They are a trendy nail art that anyone can try, with all the amazing swirls you can make with any color of choice. It takes a slow and careful process to get the perfect marble design, but they are so worth it.
They are quite easy to achieve because, in every imperfect swirl, a unique design is created. So, have fun, take out those nail polishes, throw in some glitter, and add a pop of bright colors for extra effect. Experiment and create some amazing swirls, you’ll be glad you did with all the complements your marble nails will attract.